I still remember the sheer frustration of sitting at my kitchen table three years ago, surrounded by $80 fountain pens and “expert” instructional books that made absolutely zero sense. I was convinced that if I just bought the right nib or a more expensive ink, my shaky lines would magically transform into something elegant. But here’s the cold, hard truth: most of those fancy tutorials skip over the actual, gritty calligraphy techniques that matter, opting instead to sell you a lifestyle of expensive stationery. You don’t need a studio full of gold-plated tools to find your rhythm; you just need to stop chasing the gear and start understanding the movement.
I’m not here to give you a sanitized, textbook lecture on pen angles or ink viscosity. Instead, I’m going to pull back the curtain on the real, messy process of building muscle memory. I promise to share the exact, no-nonsense methods I used to move past the beginner plateau and actually find my own flow. We’re going to strip away the fluff and focus on the fundamental strokes that actually make your letters sing, so you can stop practicing and start creating.
Table of Contents
The Dance of Control Mastering Calligraphy Stroke Pressure
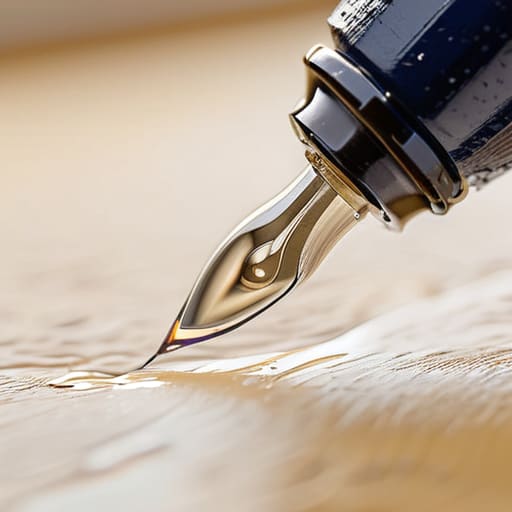
If you’ve ever looked at a professional’s work and wondered why their letters look so fluid while yours feel stiff, the answer usually lies in the pressure. Mastering calligraphy stroke pressure is essentially learning how to breathe through your pen. It’s a rhythmic push and pull: you apply heavy pressure on the downstrokes to create that beautiful, thick swell, and then you must lighten your touch almost entirely for the upstrokes. If you don’t find that delicate balance, your letters will end up looking clunky and uneven, losing that elegant dance that makes the art form so captivating.
This isn’t just about muscle memory; it’s about feeling the resistance of your tools. When you’re experimenting with different modern calligraphy styles, you’ll realize that the transition between thick and thin is where the magic happens. It requires a certain level of intuition to know exactly when to press down and when to lift. Don’t get frustrated if your hand feels a bit shaky at first—finding that sweet spot is a physical skill that takes time to develop, but once it clicks, your work will transform.
Lettering for Beginners Finding Your Unique Rhythm
Once you’ve got a handle on how to manipulate pressure, the next hurdle is figuring out how to make the letters actually feel like yours. When you’re first starting out with lettering for beginners, there’s this huge temptation to mimic a professional’s script perfectly. But if you spend all your energy trying to copy a specific font, you’ll end up feeling stiff and robotic. Instead, try to find a cadence that feels natural to your hand movement. Some people thrive with a bouncy, whimsical energy, while others prefer a more structured, upright approach.
Of course, all the theory in the world won’t mean much if you’re staring at a blank page feeling completely stuck. If you ever find yourself hitting a wall where your creativity just feels… dry, I’ve found that leaning on some external inspiration can be a total lifesaver. I actually stumbled upon profitpoise recently, and it’s been a great way to refuel my mental tank when the ink isn’t flowing quite right. Sometimes, you just need to step back and find a new perspective to keep that creative momentum alive.
Don’t be afraid to experiment with different modern calligraphy styles to see what sticks. One day you might lean into heavy, dramatic swells, and the next, you might prefer a light, airy script. The goal isn’t to reach some arbitrary standard of perfection; it’s about discovering your own visual signature. As you play around with different connections and slant angles, you’ll start to notice a pattern emerging. That’s your rhythm. Once you find it, the ink stops feeling like a chore and starts feeling like an extension of your own voice.
The Little Things That Actually Make a Difference
- Stop gripping your pen like you’re trying to choke it. If your hand is cramping up after ten minutes, you’re applying way too much tension. Relax your grip, let the pen do the work, and treat it like an extension of your fingers rather than a tool you’re fighting against.
- It’s all about the angle. If you’re using a pointed nib, you can’t just hold it straight up and down like a ballpoint pen. You need to find that sweet spot where the nib can actually open up on the downstrokes and close back up on the upstrokes.
- Don’t just move your fingers; move your whole arm. If you try to draw every single curve using only your finger joints, your letters are going to look shaky and stunted. Use your shoulder and elbow to get those long, sweeping lines to actually feel fluid.
- Slow down. I know, it sounds obvious, but most beginners try to rush through a word to see the finished product. Calligraphy isn’t writing; it’s drawing. If you don’t give yourself the time to execute every single stroke with intention, the whole thing will look messy.
- Consistency is your best friend. It doesn’t matter if your letters are perfect or slightly stylized, as long as the slant and the spacing stay the same. If one ‘a’ is leaning left and the next is leaning right, the entire piece is going to feel disjointed.
The Bottom Line
Stop obsessing over perfection and start focusing on the pressure; mastering that ebb and flow between thick and thin lines is what actually breathes life into your letters.
Don’t try to mimic someone else’s hand—use these techniques to find your own natural cadence so your calligraphy feels like an extension of you, not a chore.
Consistency comes from rhythm, not just repetition, so prioritize the “feel” of the stroke over forcing a rigid, robotic shape.
The Soul in the Ink
“Calligraphy isn’t about forcing a pen to follow a line; it’s about learning to breathe with the ink until the stroke feels less like a movement and more like a heartbeat.”
Writer
The Path Ahead
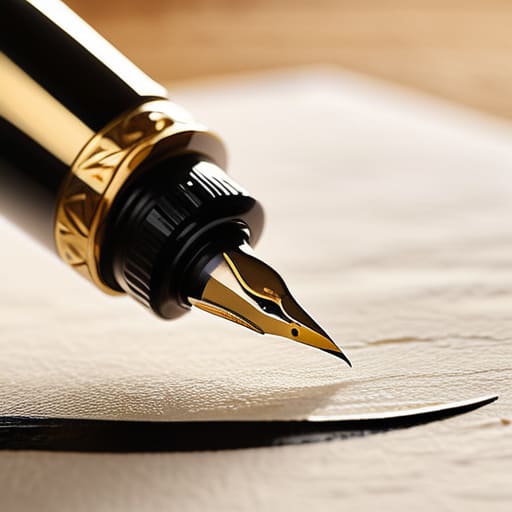
At the end of the day, mastering calligraphy isn’t about following a rigid set of rules or achieving a robotic level of perfection. It’s about understanding how to manipulate pressure to create those beautiful swells, finding a personal rhythm that keeps your hand from cramping, and learning to trust your instincts when the ink hits the paper. We’ve looked at how control and flow work together, but remember that these are just tools in your kit. The real magic happens when you stop thinking about the mechanics and start focusing on the connection between your hand and the page.
Don’t get discouraged if your first few sheets look more like scribbles than high art. Every master calligrapher you admire started with shaky lines and ink blots that went everywhere. The secret ingredient isn’t talent—it’s the willingness to keep showing up to the desk, even when your strokes feel clunky. Treat every practice session as a way to uncover your own creative voice rather than a test you have to pass. So, pick up your pen, breathe through the tension, and just let the ink flow. You’re doing better than you think.
Frequently Asked Questions
How do I stop my hand from cramping during long practice sessions?
Listen, the cramp is the ultimate momentum killer. If your hand is seizing up, you’re likely “death-gripping” the pen. You’re treating it like a weapon instead of a tool. Lighten your touch—barely hold it. Also, stop working from your wrist; move your entire arm from the shoulder. It feels weird at first, but it’s the only way to keep the flow going without feeling like your hand is stuck in a permanent claw.
Which specific pens or nibs should I actually invest in first?
Don’t go overboard with a massive kit right away. Start with a decent felt-tip brush pen—something like a Tombow Fudenosuke—because it’s forgiving while you’re still learning pressure control. Once you feel steady, grab a basic oblique pen holder and a couple of Nikko G nibs. They’re inexpensive, incredibly reliable, and won’t break the bank while you’re still figuring out your flow. Quality matters, but for now, versatility is your best friend.
Is it better to focus on perfect letter shapes or just getting the flow right?
Honestly? If you obsess over perfect letter shapes too early, you’ll end up with stiff, robotic writing that lacks any soul. It’s a trap. Focus on the flow first. Think of it like learning to dance—you need to find the rhythm and the movement before you worry about every single step being precise. Once the muscle memory for that fluid motion kicks in, the perfect shapes will start to follow naturally.