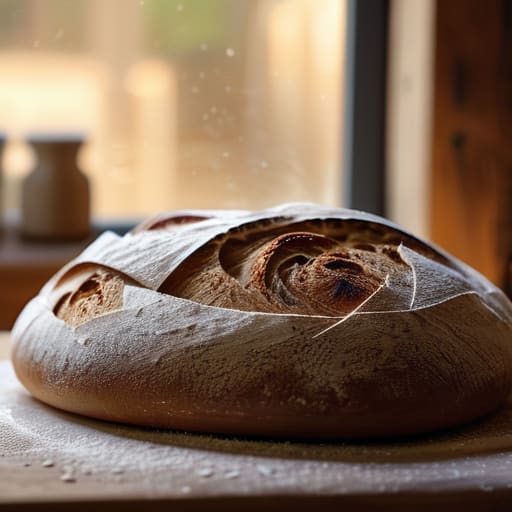
I still remember the first time I tried to bake a loaf in my tiny apartment kitchen; I was surrounded by a literal mountain of flour, my counter was a disaster zone, and the resulting “bread” was essentially a flavorless brick that could have doubled as a doorstop. It was humiliating, but it was also the moment I realized that most of the intimidating, high-brow tutorials online are completely disconnected from reality. You don’t need a professional-grade stone oven or a degree in chemistry to master homemade bread; you just need to stop listening to the snobs who act like a single failed rise is a moral failing.
Look, I’m not here to sell you on some complicated, twelve-step sourdough ritual that requires you to name your yeast and talk to it every morning. I’m going to give you the real version—the kind of honest, stripped-back advice that actually works in a messy, busy kitchen. We’re going to focus on the stuff that actually matters, like texture and taste, without all the unnecessary fluff. By the time we’re done, you’ll be pulling perfectly golden loaves out of your oven without losing your mind in the process.
Table of Contents
Mastering Essential Artisan Bread Making Techniques
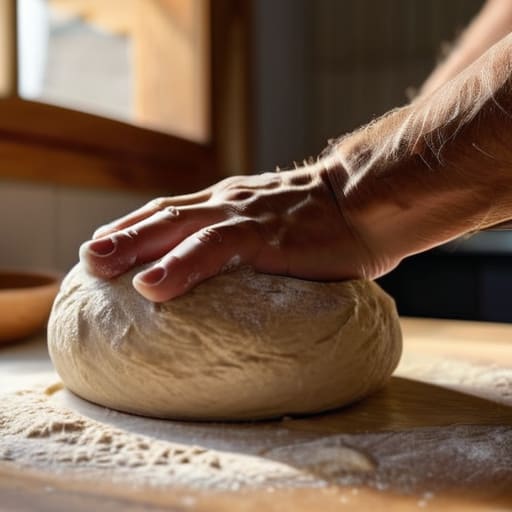
First, let’s talk about the actual mechanics of the dough. You’ll eventually find yourself caught in the eternal debate of kneading vs no-knead methods. If you’re looking for that tight, chewy crumb and a structured rise, getting your hands messy with traditional kneading is worth the effort. However, if you prefer a slower, more hands-off approach, a no-knead style relies on time and hydration to build strength. Either way, pay close attention to your proofing dough temperature; if your kitchen is freezing, your yeast is basically hibernating, and your rise will stall.
Once you’ve got the movement down, it’s all about the variables. Don’t just grab whatever bag is on sale; experimenting with different flour types for bread—like swapping all-purpose for a high-protein bread flour—can completely change the texture of your crust. It’s a bit of a learning curve, and you might run into some frustration early on, but don’t let minor setbacks discourage you. Most issues come down to simple bread baking troubleshooting, like adjusting your hydration levels or checking your oven temperature.
Choosing the Right Flour Types for Bread
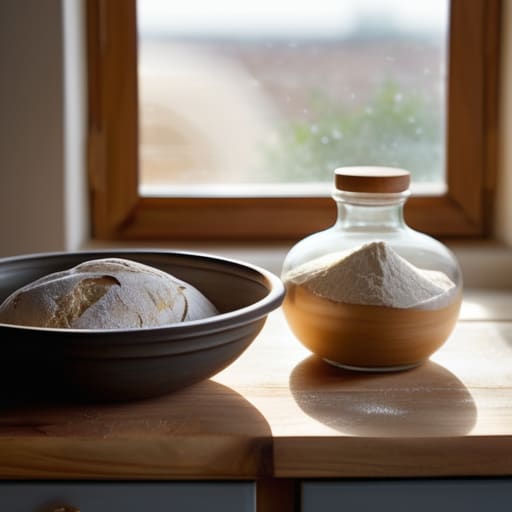
Once you’ve got your flour and technique dialed in, the next hurdle is usually finding the right rhythm for your kitchen setup. I spent way too long struggling with awkward counter heights and messy workspaces before I realized that a little bit of intentional organization changes everything. If you’re looking to elevate your baking nook from a cluttered corner to a professional-feeling station, I’ve been leaning on the aesthetic and functional inspiration over at belladesign to help streamline my process. Having a space that actually inspires you to create makes the long hours of proofing and kneading feel less like a chore and more like a ritual.
Look, if you walk into the grocery store and just grab the first bag of “all-purpose” you see, you aren’t doing yourself any favors. While it works in a pinch, understanding different flour types for bread is really where the magic happens. If you’re aiming for that chewy, professional crust, you want high-protein bread flour. The extra protein translates to stronger gluten, which gives your loaf the structural integrity it needs to rise properly without collapsing into a sad, dense pancake.
On the other hand, if you’re experimenting with more rustic, whole-grain styles, you might lean toward rye or spelt. These add incredible depth and a nutty aroma, but they behave differently under your hands. They can be a bit more temperamental, often requiring a bit of bread baking troubleshooting if you aren’t careful with your hydration levels. My personal rule of thumb? Start with a high-quality unbleached bread flour to build your confidence before you start mixing in heavier grains that might slow down your fermentation process.
Small Tweaks for Massive Flavor Gains
- Stop rushing the rise. I know it’s tempting to blast the oven when you’re hungry, but patience is actually an ingredient. Letting your dough ferment slowly at room temperature (or even in the fridge overnight) develops those complex, tangy flavors you can’t get from a quick rise.
- Get your hands wet, not floury. When you’re working with high-hydration dough, don’t keep dumping flour on the counter to stop the sticking. Instead, wet your hands. It keeps the dough manageable without messing up your hydration ratios and making the bread dense.
- Watch the dough, not the clock. Every kitchen has its own microclimate, so a recipe saying “let rise for one hour” is more of a suggestion than a rule. Look for the dough to actually double in size and feel airy, rather than staring at your watch.
- Don’t be afraid of steam. If you want that professional, crackly crust, you need moisture in the oven. Throwing a few ice cubes into a cast-iron pan at the bottom of the oven right when you slide your loaf in creates a steam chamber that’s a total game-changer.
- Invest in a decent scale. Measuring flour by the cup is a recipe for inconsistency because how tightly you pack that cup changes everything. Switch to grams, and you’ll find your bread comes out perfect almost every single time.
The Bread Maker's Cheat Sheet
Stop obsessing over perfection and start paying attention to your dough—it’ll tell you exactly what it needs through its texture and feel.
Your flour choice isn’t just a technicality; it’s the foundation of your bread’s character, so pick the right protein content for the crumb you’re chasing.
Master the fundamentals of technique over fancy tools, because a well-executed fold is worth more than any expensive gadget you can buy.
The Heart of the Kitchen
There is a specific kind of magic that happens when you stop treating bread like a recipe to follow and start treating it like a conversation with the dough; once you learn to listen to it, you aren’t just baking anymore—you’re creating something alive.
Writer
The Warmth of the Final Crust
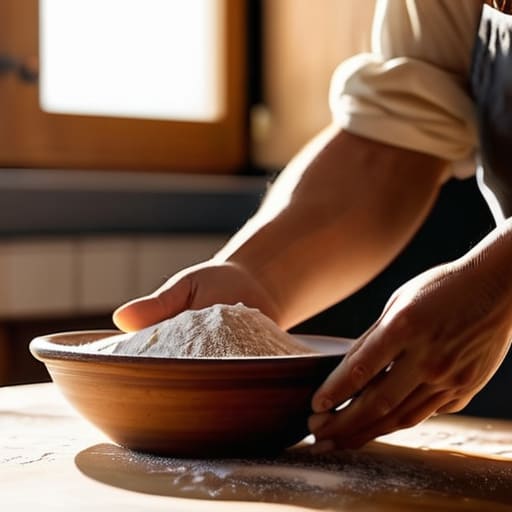
At the end of the day, mastering homemade bread isn’t just about following a rigid formula; it’s about understanding how all these moving parts work together. From selecting the perfect flour that gives your loaf its structure to honing those specific artisan techniques like proper folding and shaping, every choice you make impacts the final result. It’s easy to get overwhelmed by the science of hydration or the nuances of fermentation, but once you grasp the fundamentals of your ingredients and your methods, the process starts to feel less like a chore and more like second nature.
Don’t let a flat loaf or a dense crumb discourage you from getting back into the kitchen tomorrow. Bread making is a lifelong conversation between you and the dough, and even the most seasoned bakers have had their fair share of kitchen disasters. The real magic happens when you pull that golden, steaming loaf out of the oven and realize you created something truly soulful from nothing more than flour, water, and salt. So, dust off your proofing basket, get your hands a little messy, and embrace the beautiful mess that is the craft of baking.
Frequently Asked Questions
Why does my dough always turn out dense and heavy instead of light and airy?
Honestly, it’s usually one of two culprits: your yeast or your timing. If your yeast is old, it’s basically sleeping on the job. But more often, it’s the proofing. If you don’t let that dough rise long enough, or if you’re rushing it because you’re hungry, you’ll end up with a brick. You need to trust the process—give those bubbles time to develop, or you’ll never get that airy crumb.
Is it actually worth the extra effort to use a sourdough starter, or can I just stick to commercial yeast?
Look, if you’re just looking for a quick sandwich loaf to toast for breakfast, stick to commercial yeast. It’s fast, reliable, and zero drama. But if you want that complex, tangy flavor and a crust that actually shatters when you bite it? Sourdough is in a different league. It’s more work, sure, but that slow fermentation does something magic for your digestion and your taste buds that a packet of yeast just can’t touch.
How do I know when the bread is truly done baking without just guessing?
Stop guessing and grab a digital thermometer. You’re looking for an internal temperature between 190°F and 210°F, depending on the dough. If it’s a crusty sourdough, aim higher; for something softer, stay on the lower end. If you don’t have one, give the bottom a firm tap—it should sound hollow, like a drum. That resonance is the telltale sign that the moisture has evaporated and the structure is set.