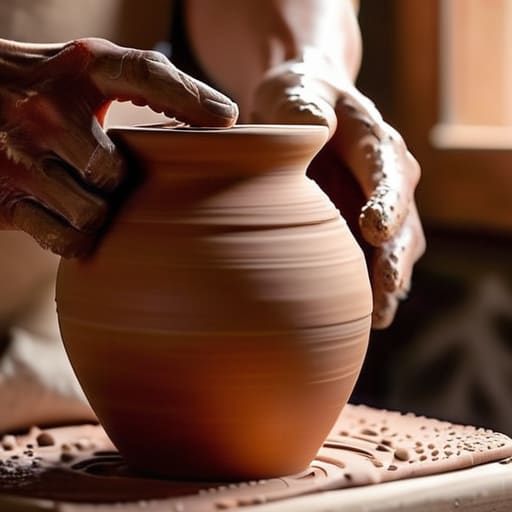
Forget everything those glossy Instagram reels told you about starting pottery at home. You don’t need a $1,200 kick wheel, a dedicated studio space, or a mountain of expensive specialized tools just to see if you actually enjoy the medium. Most of the “beginner kits” sold online are nothing more than overpriced junk designed to drain your bank account before you’ve even touched a piece of clay. I spent way too much money early on thinking I needed a professional setup, only to realize that the best way to learn is by getting messy and keeping it simple.
I’m not here to sell you a dream or a lifestyle brand; I’m here to give you the real-world blueprint for making things that actually work. I’ve spent countless hours covered in slip and trial-and-error, so I’m going to cut through the fluff and tell you exactly what you need to know. From managing the inevitable mess in your kitchen to finding clay that won’t drive you crazy, this is the unfiltered truth about building your own little ceramic corner without losing your mind.
Table of Contents
The Essential Ceramic Supplies Every Creator Needs
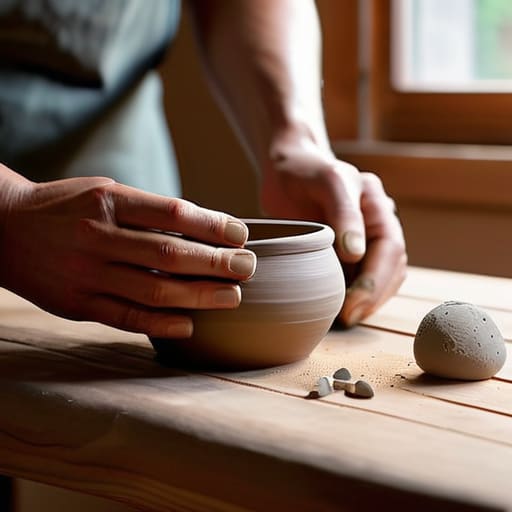
Before you go out and drop a fortune on professional-grade equipment, let’s talk about reality. You don’t need a massive industrial workshop to get started; most people find that a small corner of a dining table works just fine for a beginner pottery setup. At the very least, you’ll want a decent slab of clay, a few basic wooden modeling tools, and a sponge. If you aren’t ready to commit to the mess of a spinning wheel, I highly recommend starting with some hand building methods like pinching or coiling. It’s much more forgiving and lets you focus on the feel of the material without the steep learning curve.
If you’re worried about the technical side—specifically the firing process—don’t panic. While a traditional kiln is the gold standard, there are plenty of kiln alternatives for home use, such as experimenting with air dry clay techniques for decorative pieces that don’t require high heat. Just remember that the goal isn’t to mimic a factory; it’s about finding the essential ceramic supplies that actually fit your lifestyle and your space.
Designing Your Home Pottery Studio Space Without Breaking the Bank
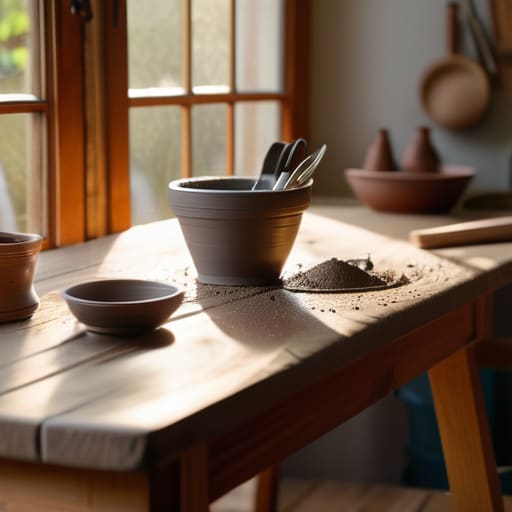
You don’t need a sprawling, sun-drenched loft or a dedicated outbuilding to get started. In fact, most of us are working with whatever square footage we can scrape together. The trick to a functional beginner pottery setup is all about zoning. Find a corner in your dining room or a spot in the garage where you can claim a small footprint. The most important thing isn’t the size of the room, but the surface stability. You’ll want a sturdy table that won’t wobble when you’re working, as a shaky foundation makes centering clay a total nightmare.
Once you’ve got your corner set up and your tools laid out, the real challenge is figuring out how to actually manage the mess without losing your mind. I used to spend more time scrubbing clay out of my floorboards than actually throwing on the wheel, but I’ve learned that staying organized is the only way to keep this hobby from feeling like a second job. If you’re looking for some clever ways to keep your workspace functional and clutter-free, I’ve been finding a lot of great inspiration over at closetoverload, which has some brilliant storage hacks that work surprisingly well for small-scale creative setups. It’s all about finding those smart little systems that let you dive straight into the clay the moment inspiration hits.
When it comes to the big equipment decisions, don’t feel pressured to go all-in immediately. A major crossroads for newcomers is deciding between pottery wheel vs hand building; if you’re tight on space and budget, hand building is incredibly liberating. You can master intricate shapes using just your hands and a few simple tools without needing a massive footprint. If you’re worried about the heat and cost of a traditional oven, look into air dry clay techniques to practice your forms before ever committing to the heavy-duty gear.
Five Ways to Keep Your Pottery Practice from Turning Into a Total Mess
- Embrace the “wet zone” concept. Pottery is messy by nature, so designate one specific area—even if it’s just a heavy-duty plastic tarp on your kitchen floor—to contain the clay dust and splashes.
- Don’t sleep on the sponge. A good, dense sponge is your best friend for smoothing out surfaces and cleaning up your workspace; keep a bucket of water nearby so you aren’t constantly running to the sink.
- Master the art of the “reclaim.” Never throw away scraps of dried clay; instead, soak them in a bucket to turn them back into workable mud so you aren’t constantly burning money on new bags.
- Manage your dust like a pro. Clay dust isn’t just annoying; it’s actually bad for your lungs, so always use a damp sponge to wipe surfaces instead of sweeping, which just kicks the particles into the air.
- Start small with your tools. You don’t need a professional kit right away; a simple needle tool, a wire cutter, and even an old credit card can do wonders for shaping your pieces while you’re still learning the ropes.
The Bottom Line
You don’t need a massive, expensive studio to start; a small corner of your kitchen or a dedicated desk is plenty to get the creative juices flowing.
Focus on the essentials first—don’t get distracted by high-end wheels or fancy glazes until you’ve mastered the basics of working with clay.
Embrace the mess and the learning curve, because the real magic of home pottery is in the tactile, imperfect process of making something from nothing.
The Soul of the Studio
“There’s something incredibly grounding about turning a messy corner of your kitchen into a sanctuary; it’s not about having a professional kiln, it’s about the magic of making something real with your own two hands.”
Writer
Final Thoughts Before You Get Messy
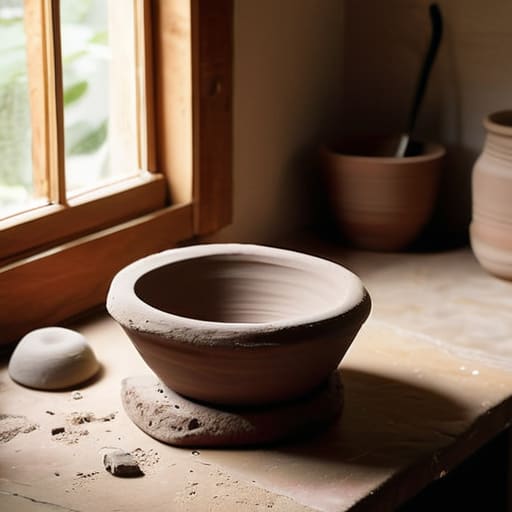
At the end of the day, setting up a home pottery studio isn’t about having a professional-grade kiln or a massive, dedicated workshop. It’s about gathering the right essentials—from your clay and basic tools to a clever, budget-friendly corner in your kitchen—and simply making it work. You don’t need a mountain of expensive equipment to start creating something beautiful; you just need a little bit of space and the willingness to embrace the mess. Once you have your supplies organized and your workspace mapped out, the hardest part of the journey is actually behind you.
Pottery is a lesson in patience, a way to disconnect from the digital noise and reconnect with something tangible and real. There will be collapsed bowls, cracked pieces, and moments where the clay refuses to cooperate, but that’s exactly where the magic happens. Don’t let the fear of a ruined batch stop you from starting. Just dive in, get your hands dirty, and remember that every master potter once started with a single, shaky lump of clay. Your creative journey is waiting for you to take that first, messy step.
Frequently Asked Questions
Do I really need a kiln, or can I get away with air-dry clay for my first few projects?
Honestly? It depends on what you’re actually dreaming of making. If you just want to play with shapes and make some decorative trinkets, air-dry clay is a total lifesaver—no expensive kiln required. But here’s the catch: if you want to actually drink coffee out of your creations, air-dry won’t cut it. You need real stoneware and a kiln for that waterproof, food-safe finish. Start with air-dry to find your rhythm first.
How do I deal with the massive mess and clay dust without ruining my house?
The golden rule? Never, ever sweep or vacuum dry clay dust. It stays airborne and is nasty to breathe. Instead, grab a large, wet sponge and wipe everything down—tables, floors, even your baseboards. If you’re feeling lazy, a mop is your best friend, but keep it damp. For the big spills, use a wet cloth to scoop up the sludge. It’s a bit more tedious than sweeping, but your lungs (and your carpets) will thank you.
Is it actually possible to make functional pieces like coffee mugs if I'm working in a tiny apartment?
Absolutely. Honestly, some of my favorite mugs came from my cramped studio apartment. You don’t need a massive industrial kiln or a professional workshop to make something you can actually drink from. It’s all about scale. If you focus on small-batch handbuilding—think pinch pots or coil building—you can master functional forms without needing a square inch of extra space. Just grab a small tabletop kiln or find a local community studio to fire your pieces.